How To Remove Bolts from School Bus Ceiling
..On day one of the demo, the first thing we tried to do was remove the school bus ceiling panels. This proved to be quite the task. We quickly realized after several attempts that this was not going to happen as easily as we expected. A handful of the hundreds of bolts ( an earlier version of this called them screws because I was hardware/tool challenged) came out using a power drill but most of them were instantly stripped. These bolts were sealed. There were dozens of How To videos out there but none that really addressed our particular issues.
OLDER BUS MEANS FROZEN BOLTS
Dealing with an older bus – it’s a 1992 International – it’s not surprising that we would run into a few issues. What was surprising was how little information about this issue was out there. We took a lunch break and scoured YouTube and Google using different keywords and turned up nothing. One promising video boasted the power of Blaster, which is a penetrating lubricant spray that’s supposed to aid in loosening up bolts seemingly frozen in place. Sorry to say, this didn’t help us one bit. Haha, see what I did there? Bit – drill bit? Anyway, sorry – cheesy, I know – that’s why I’m addressing this issue for others having a similar problem removing the bolts from a school bus ceiling.
*This post contains affiliate links from which I may gain compensation if a purchase is made after clicking, at no cost to you.
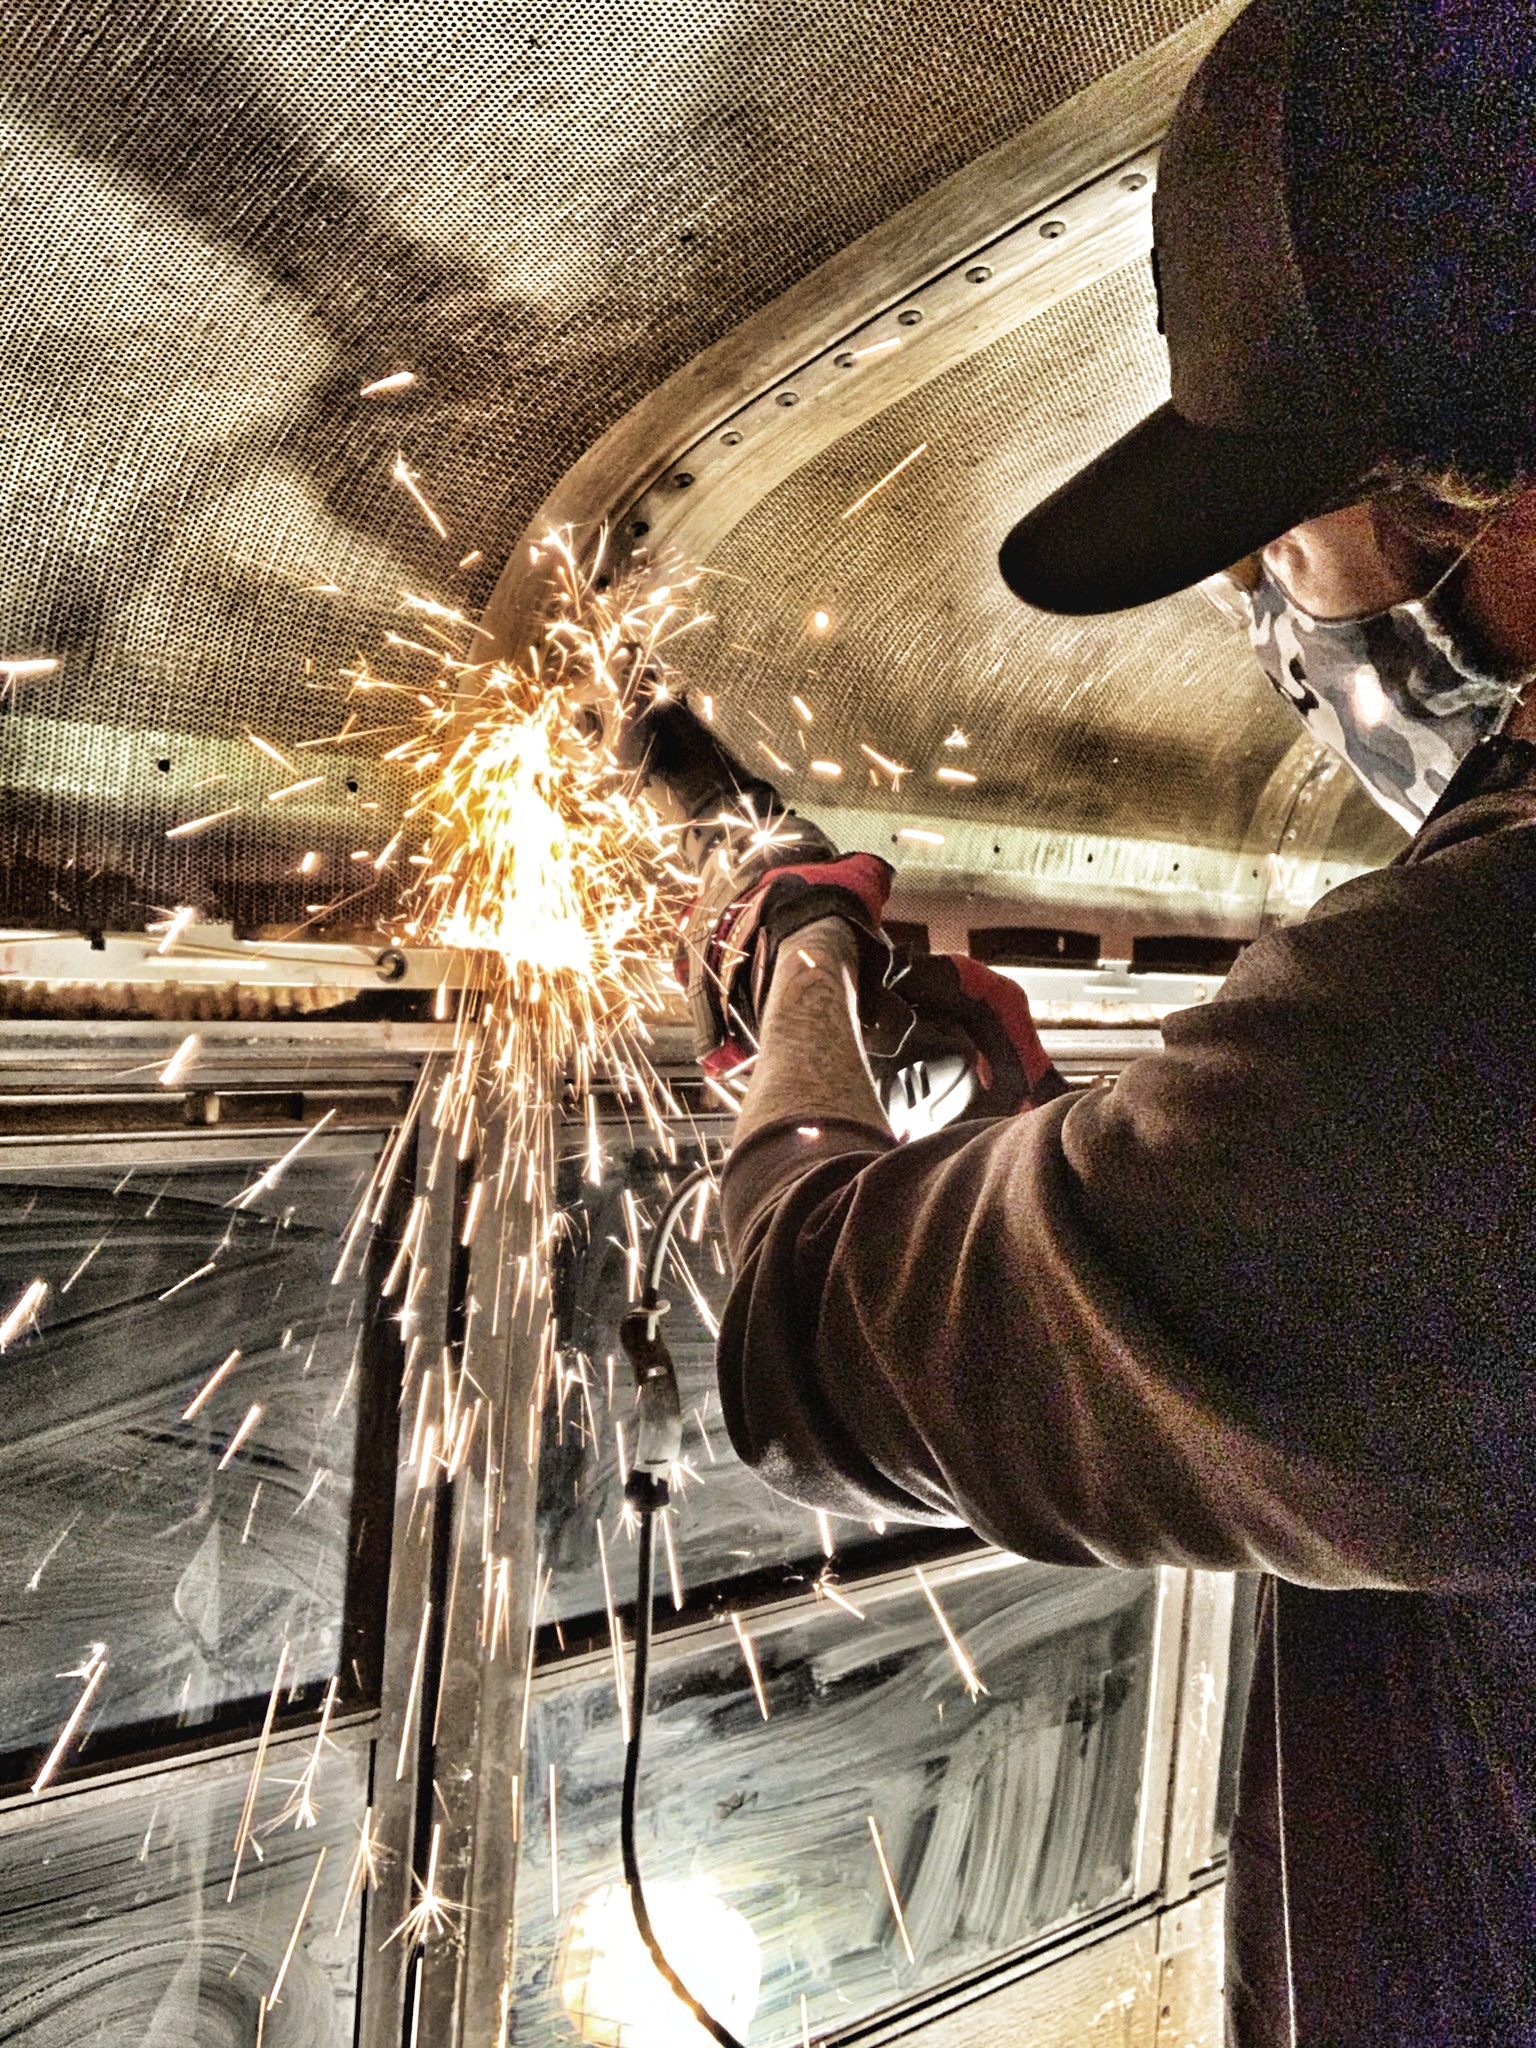
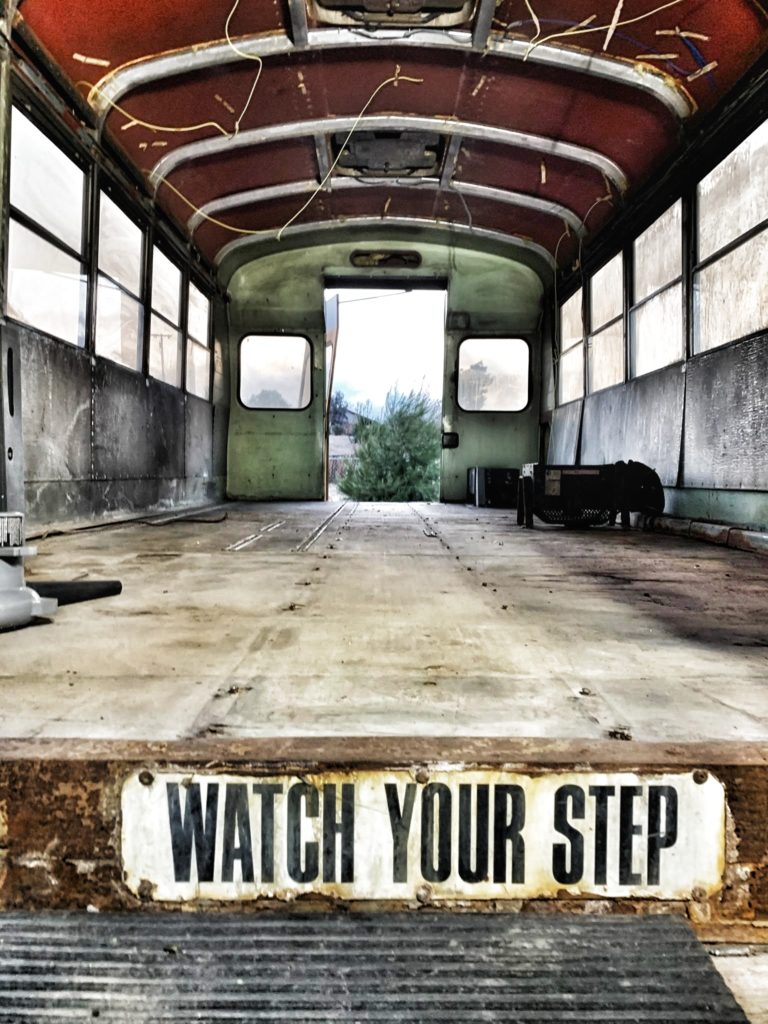
First, a Dewalt angle grinder was used to cut a groove across each bolt. The groove needed to be wide enough to accommodate a flat head screwdriver to manually loosen the bolt and finally, a Makita power drill was used to completely remove the bolt. Some of them were cracked which required a chisel and hammer to eventually knock them off. All in all, this process required two and a half full days of dual manpower. It wasn’t easy, but it was certainly rewarding to see the red underside of the roof behind the almost thirty-year-old fiberglass insulation.
DEFINITELY NOT PROFESSIONALS
I wouldn’t call us pros. I also can’t take any of the credit for this leg of the demo, but we’d be happy to answer any questions you might have. With the help of James’ father, once again, we figured out the best method for us. The lack of information was the real struggle. Knowing how someone else was successful can be very helpful when navigating your own method. Happy bus conversion to you!
School Bus Conversion – Spray Painting the Outside | The Road Linds Travels
March 28, 2021 at 6:44 PM[…] in a school bus full time would be just that – WOW. It was also my first reaction when I saw all of the work James and his father completed on the interior last […]
School Bus Conversion | The Road Linds Travels
May 23, 2022 at 10:54 AM[…] in a school bus full time would be just that – WOW. It was also my first reaction when I saw all of the work James and his father completed on the interior last […]